本ページの内容は、サンプルプログラム[TutorialSample.zip]に含まれています。
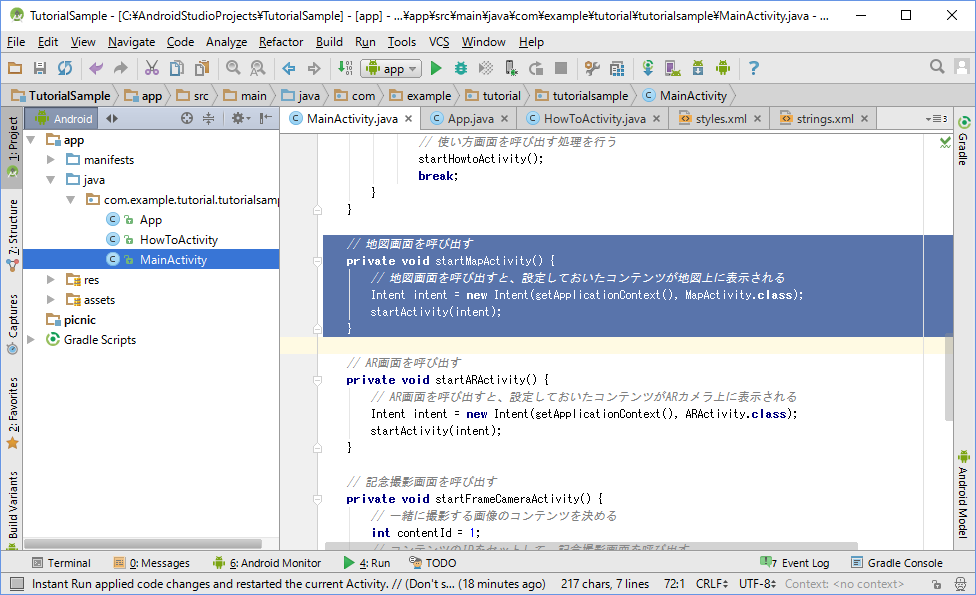
// 地図画面を呼び出すと、設定しておいたコンテンツが地図上に表示される
Intent intent = new Intent(getApplicationContext(), MapActivity.class);
startActivity(intent);
サンプルプログラムTutorialSampleでは、MainActivityのstartMapActivityメソッドに記載されています。
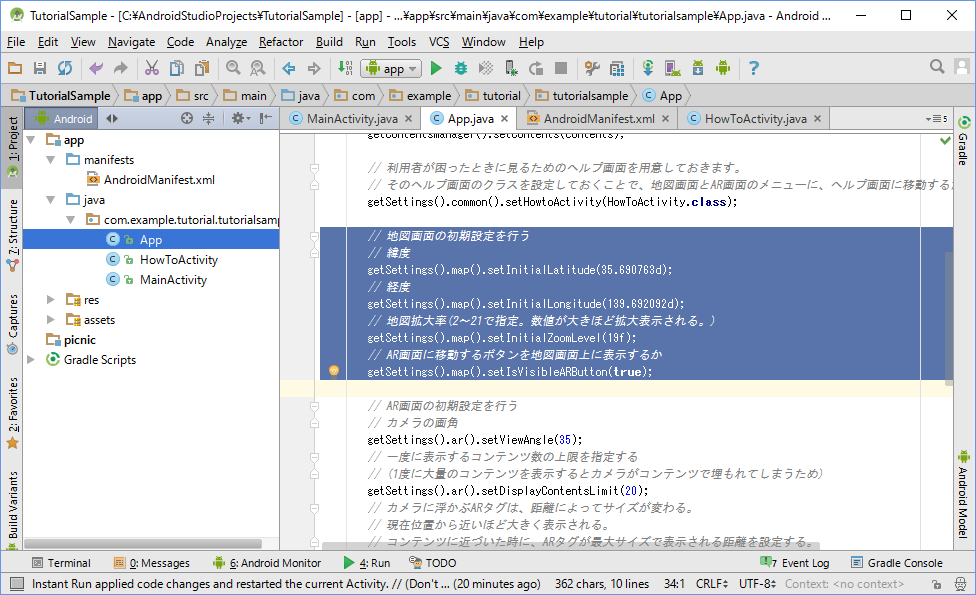
// 地図画面の初期設定を行う
// 緯度
MapSettings.setInitialLatitude(35.562358d);
// 経度
MapSettings.setInitialLongitude(139.715119d);
// 地図拡大率(2〜21で指定。数値が大きほど拡大表示される。)
MapSettings.setInitialZoomLevel(19f);
// AR画面に移動するボタンを地図画面上に表示するか
MapSettings.setIsVisibleARButton(true);
サンプルプログラムTutorialSampleでは、AppのinitializePicnicメソッドに記載されています。
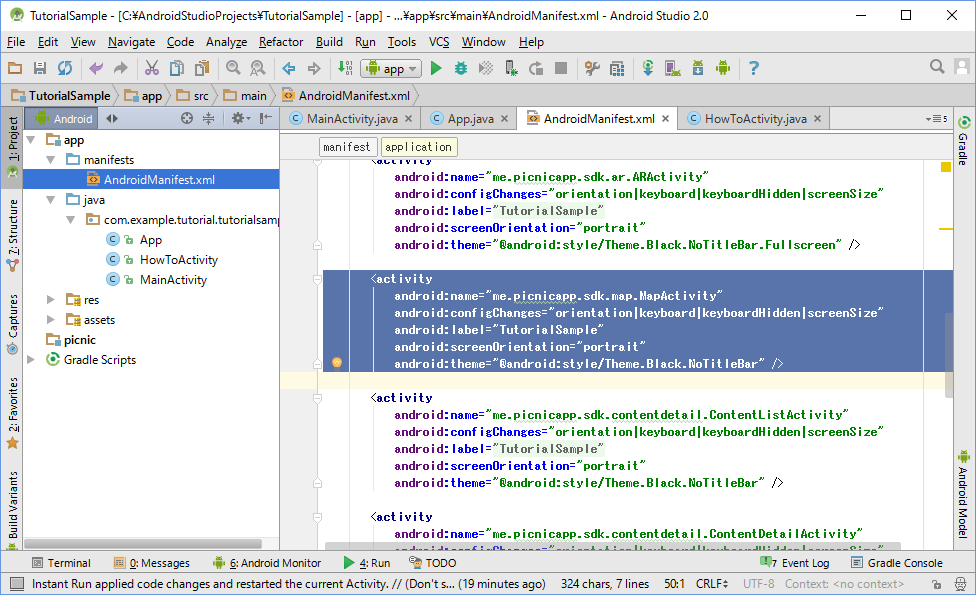
<!-- 地図画面を表示するために必要な記述 -->
<activity
android:name="me.picnicapp.sdk.map.MapActivity"
android:configChanges="orientation|keyboard|keyboardHidden|screenSize"
android:label="@string/app_name"
android:screenOrientation="portrait"
android:theme="@android:style/Theme.Black.NoTitleBar" />
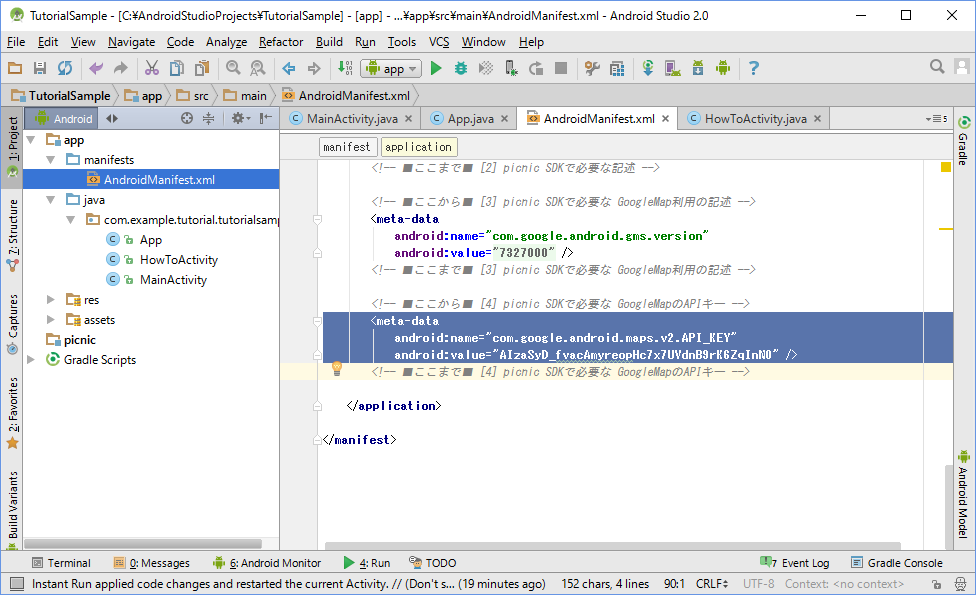
<!-- GoogleMapのAPIキー -->
<meta-data
android:name="com.google.android.maps.v2.API_KEY"
android:value="xxxxxxxxxxxxxxx" /> <!-- ここには自分で取得したAPIキーを入れる -->
GoogleMapのAPIキー取得方法については[こちら]をご参照ください。